
 Aging in Place Directory Hub
When my father almost slipped in the shower, it scared our entire family.
That close call made me realize how risky bathrooms can be for older adults. As a retired occupational therapist, I’ve seen many families face this same concern, wondering, can I install shower grab bars to keep my loved ones safe?
The simple answer is yes, you can if you are comfortable and experienced in using the tools needed to make a proper installation.
Let’s walk through everything you need to know to get it done right.
Before you start though, here’s a complete guide to bathroom grab bars.
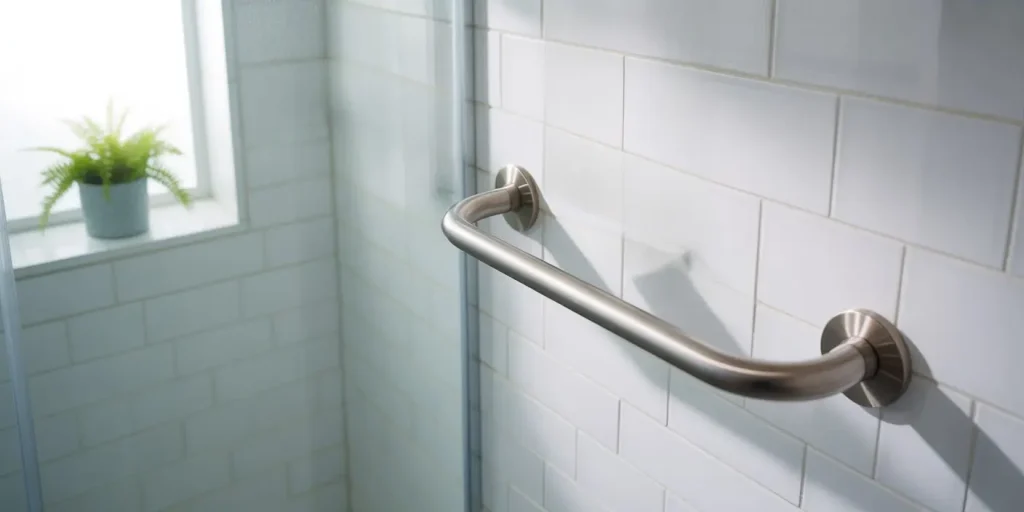
Why Grab Bars Are Essential for Bathroom Safety
Bathrooms are one of the most dangerous places for seniors. The CDC says about 80 percent of home falls happen in bathrooms. Wet, slippery floors turn routine showers into dangerous situations.
Grab bars provide:
- Stability while entering, exiting, or moving inside the shower
- Extra balance support for seniors with mobility or balance issues
- Prevention against sudden slips and falls
- Confidence for both seniors and caregivers
When a patient of mine had her grab bars installed, she told me, “I feel safer just standing here.” That peace of mind is priceless.
Can You Install Shower Grab Bars Yourself?
You may be thinking, can I install shower grab bars on my own? Many people can, but you’ll want to consider:
- Your comfort level using power tools and installation tool checklists
- What type of wall surface you have (tile, drywall, or fiberglass shower surrounds)
- If you can locate wall studs or need alternate fasteners
- If you’re physically able to do the work safely
I’ve worked with many families who successfully handled grab bar installation themselves. Others wisely hired professional installers for peace of mind. You know your skills best.
DIY Readiness Checklist:
- You can locate studs using a stud finder (magnetic or electronic).
- You own and can operate a power drill.
- You have the correct drill bits for tile, quartz, or fiberglass (like diamond hole saws).
- You know how to install toggle bolts or WingIts anchors if studs aren’t available.
- You feel physically strong enough to complete the project.
Yes, You Can Install Grab Bars in Fiberglass Showers
Many people ask me if you can install grab bars into fiberglass shower enclosures. The answer is yes, but the right approach is crucial:
- Use a stud finder to locate secure mounting points behind the fiberglass.
- Mount directly into studs whenever possible for maximum strength.
- Use proper fiberglass fastener kits or hollow-wall anchors if studs aren’t accessible.
- Select hardware rated for 250 to 500 pounds of support 🏋.
- Seal all holes with waterproof caulking to prevent water damage.
Pro Tip: Fiberglass walls often flex, so using hardware made for fiberglass is critical to avoid cracking.
When to Hire a Professional Installer
In my years of work, I often advised families to bring in a professional when:
- The wall material is fragile (tile, fiberglass, or quartz walls).
- Studs aren’t located where needed.
- ADA-compliant placement is required. (in public and commercial bathrooms)
- The DIY process feels overwhelming.
Professionally installed grab bars ensure that safety rails are correctly anchored and reliable for long-term support.
Types of Shower Grab Bars and Safety Rails
Let’s look at your options:
Suction Grab Bars:
- Easy temporary fix
- Work on non-porous surfaces (smooth tile, glass)
- Not reliable for long-term weight-bearing use
- Can lose suction over time
Wall-Mounted Grab Bars:
- Permanently anchored into studs or wall blocking
- Provide strongest, most reliable support
- Rated for 250 to 500 pounds
Shapes and Configurations:
- Horizontal bars for stability while standing
- Vertical bars to assist entry and exit
- Angled bars for multiple support points while standing or sitting
Grip Textures:
- Knurled grips offer textured surfaces for better wet hand grip.
- Smooth grips feel sleek but may be slippery when wet.

- Fully welded one-piece construction with screw flange permanently fused to the tube—no assembly required. Unlike competitors with separate pieces that need tedious assembly, this solid grab bar is ready to mount right out of the box, eliminating loose joints and potential weak points for maximum safety
Placement Guidelines for Maximum Safety
Proper placement of shower grab bars boosts safety and comfort. ADA guidelines recommend:
- Mount height between 33 to 36 inches from shower floor.
- Install horizontal grab bars along side walls or near benches.
- Place vertical bars at entry points.
- Maintain 1.5-inch clearance between wall and grab bar.
- Use bars with 1¼ to 1½-inch diameter for easy grasping.
When I assessed my patient, Mrs. Gerber for her shower grab bars, I had her practice reaching and gripping before her son began drilling. This small step made sure the bars fit her natural movements.
Anchor Types: What If You Can’t Find a Stud?
If studs aren’t in the right spot, don’t worry. There are safe alternatives:
- WingIts anchors (ADA compliant, rated for 300+ pounds)
- Toggle bolts that expand behind drywall or fiberglass
- Hollow-wall anchors (use with caution as they provide less strength)
Always select anchors rated for grab bar installation and confirm they match your wall material.
Wall Blocking: Plan Ahead During Remodeling
If you’re remodeling, this is the perfect time to add wall blocking behind your shower walls:
- Install 2×4 or 2×6 boards horizontally between studs.
- Position blocking where grab bars may be installed in the future.
- Blocking allows flexible bar placement for years to come.
I always recommended wall blocking during remodels – it makes safe installs much easier down the road.
Tools and Materials You May Need 🛠
Here’s your installation tool checklist:
- Electronic or magnetic stud finder
- Power drill with tile, masonry, or fiberglass bits
- Stainless steel screws
- Wall anchors (toggle bolts, WingIts anchors, or hollow-wall anchors)
- Level and measuring tape
- Silicone waterproof caulking
- Goggles, gloves, and safety gear
Full Step-by-Step DIY Installation Guide
Let’s go through it:
1️⃣ Use stud finder to locate wall studs.
2️⃣ Mark grab bar placement, typically 33-36 inches from shower floor.
3️⃣ Drill pilot holes carefully using correct drill bits.
4️⃣ Install grab bar using screws and chosen anchor system.
5️⃣ Apply silicone caulk to seal around screws and prevent moisture damage.
6️⃣ Test the grab bar with firm pressure to ensure it holds strong.
Common Mistakes to Avoid
Avoid these common errors:
- Mounting into drywall or fiberglass without strong anchors.
- Skipping stud locations when available.
- Improper measurements or guessing placement.
- Weak anchors not designed for grab bars.
- Forgetting to seal with caulk, allowing water intrusion.
- Failing to check grab bar tightness after installation.
Ongoing Maintenance After Installation
Even after proper installation, don’t forget these preventive maintenance steps:
- Re-tighten screws after initial use to account for settling.
- Inspect bar tightness every few months.
- Reapply caulking yearly to keep seals waterproof.
- Regularly check for any signs of loosening or water damage.
Cost Comparison: DIY vs Professional Installation
| Expense | DIY Cost | Professional Cost |
|---|---|---|
| Grab Bar | $25 – $50 | $25 – $50 |
| Tools & Supplies | $20 – $50 | Included |
| Labor | Free | $100 – $300 |
| Total | $45 – $100 | $125 – $350 |
DIY saves money but requires confidence with tools. Professionals handle complex walls and guarantee stability.
Long-Term Benefits of Installing Grab Bars
✅ Reduce fall risk dramatically
✅ Promote safe, independent bathing
✅ Provide peace of mind for caregivers
✅ Maintain dignity and confidence for seniors
✅ Support aging in place successfully
Conclusion
If you’re wondering, can I install shower grab bars?, you now have a clear path forward. Whether you choose to DIY or hire a professional, you’re making a powerful decision to protect your loved one’s safety and independence.
A little work today can prevent a painful accident tomorrow .
